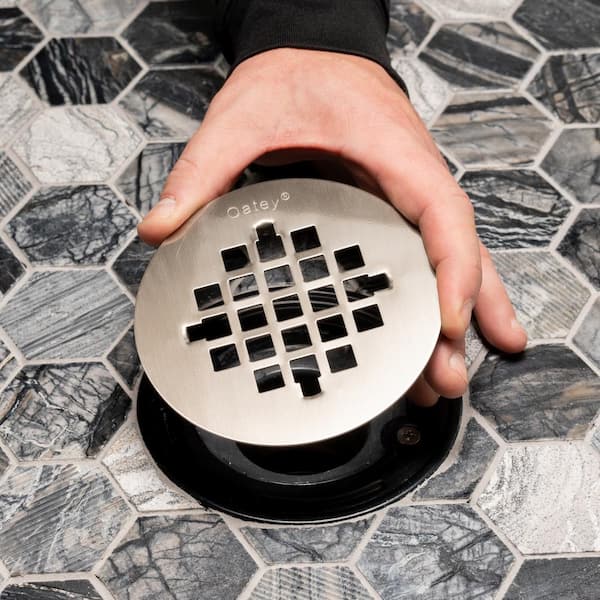
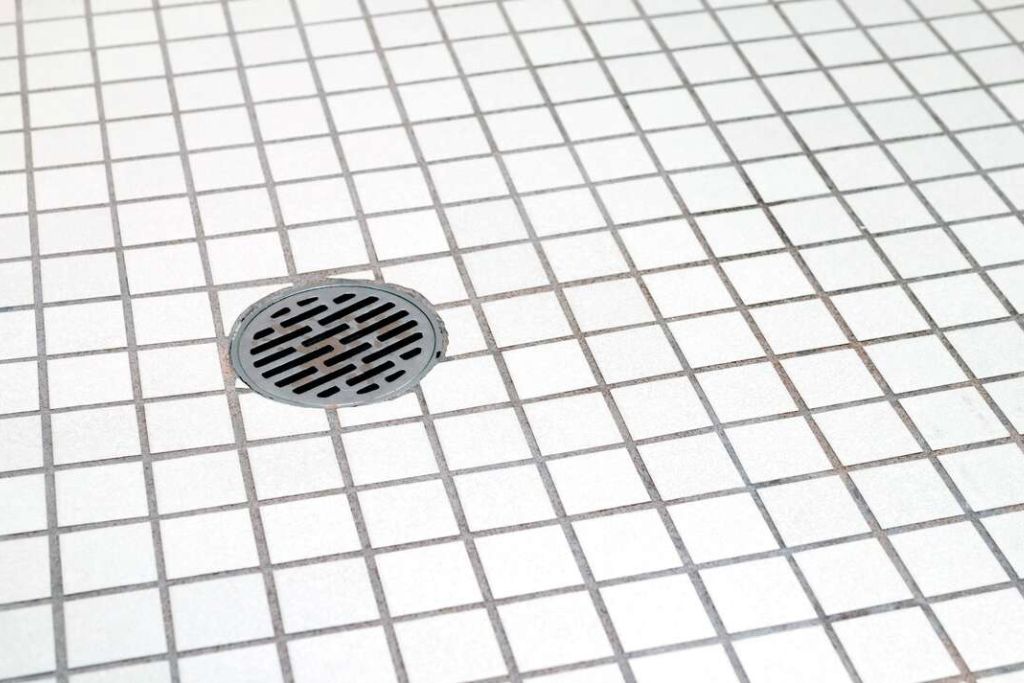
Removing a shower drain cover requires identifying the specific type of drain assembly and applying the appropriate removal technique. Most shower drain covers fall into three categories: screw-type strainers, snap-in covers, and threaded strainers. The removal method depends entirely on the drain design, with threaded strainers being the most common and typically requiring counterclockwise rotation using specialized tools or improvised methods.
Before attempting removal, always shut off the water supply and ensure the shower area is completely dry to prevent slipping and provide better tool grip. Understanding your drain type prevents damage to both the cover and the surrounding shower pan material.
Identifying Your Shower Drain Cover Type
Threaded Strainer Drains
The most common type features a center crossbar or multiple spokes with a threaded connection. These covers screw directly into the drain body and require counterclockwise rotation for removal. Look for a center slot, crossbar, or multiple intersection points that can accommodate a screwdriver or specialized tool.
Snap-In Drain Covers
These covers feature spring-loaded tabs or flexible edges that snap into place without threading. They're typically found in newer installations and can be removed by applying upward pressure while compressing the retention tabs. These covers often appear completely flat with no visible screws or center slots.

Screw-Down Covers
Some drain covers use visible screws around the perimeter to secure the cover to the drain body. These are less common in showers but may be found in older installations or commercial applications.
How to Remove Shower Drain Cover With No Screws
Snap-In Cover Removal
For flat shower drain covers without visible fasteners, start by examining the edges for small tabs or flexible sections. Use a thin putty knife or plastic prying tool to gently lift one edge while applying upward pressure. Work around the perimeter systematically, as these covers often have multiple retention points.
PRO TIP: Many snap-in covers have a specific removal sequence. Try lifting opposite corners simultaneously rather than working from one side, as this prevents binding against the retention mechanism.
Threaded Covers Without Center Slots
Some threaded strainers lack obvious tool engagement points. For these, you'll need to create leverage using the drain holes themselves. Insert two flat-blade screwdrivers into opposite holes and use them as handles to rotate the entire cover counterclockwise.
This technique requires steady pressure and patience to avoid slipping.
Standard Threaded Drain Cover Removal
Tool Selection
The most effective tool is a drain removal key or shower drain tool, specifically designed for this purpose. These tools feature multiple prongs or a crossbar configuration that matches common drain patterns. For improvised solutions, use the largest flat-blade screwdriver that fits the center slot, ensuring it spans the full width for maximum leverage.
Recommended tools:
- Ridgid Drain Removal Tool - Professional-grade with multiple configurations
- General Pipe Cleaners Drain Key - Adjustable for various drain types
- Klein Tools Drain Removal Set - Comprehensive kit for multiple drain styles
Removal Technique
Insert the tool into the center engagement point and apply firm counterclockwise pressure. The initial movement often requires significant force, as mineral deposits and soap scum create thread binding. Apply steady, controlled pressure rather than sudden jerking motions that can damage the drain or tool.
If the cover doesn't move immediately, stop and assess for corrosion or debris binding. Never force a drain cover, as this can damage the threads or crack the drain body.
Dealing with Stuck or Corroded Drain Covers
Chemical Treatment
For covers stuck due to soap scum and mineral deposits, apply a targeted drain cleaner between the cover and drain body. Allow the product to penetrate for 15-30 minutes before attempting removal. Drano Max Gel or Liquid-Plumr work effectively for organic buildup, while CLR (Calcium, Lime & Rust) targets mineral deposits. Safety consideration: Always ensure adequate ventilation when using chemical products, and wear gloves and eye protection. Thoroughly rinse all chemical residue before continuing with removal attempts.
Penetrating Lubricants
For severe corrosion or threading issues, penetrating lubricants can free stuck components. PB Blaster offers superior penetration compared to standard products, while Liquid Wrench provides excellent performance for plumbing applications. WD-40 Specialist Penetrant combines penetrating action with corrosion protection.
Apply the lubricant generously around the drain cover threads and allow 30-60 minutes for penetration. For severely stuck covers, multiple applications over several hours may be necessary.
Heat Application
Controlled heat application can break corrosion bonds and expand metal components for easier removal. Use a hair dryer on high heat, directing airflow around the drain cover for 5-10 minutes. This method works particularly well on metal drains where thermal expansion can break corrosion seals.
Caution: Avoid heat application on plastic drain components or acrylic shower pans, as excessive heat can cause warping or discoloration.Removing Flat Shower Drain Covers
Linear Drain Covers
Modern linear drains often feature long, narrow covers that lift straight up after releasing retention clips. These covers typically have hidden fasteners at each end or spring-loaded retention systems along the length.

To remove, locate the retention mechanism (usually at the ends) and compress or lift the release tabs while pulling the cover upward. Some linear covers slide horizontally before lifting, so try gentle horizontal movement if vertical removal fails.
Point Drain Flat Covers
Square or round flat covers without visible fasteners typically use friction-fit or twist-lock mechanisms. For friction-fit covers, apply steady upward pressure while working around the edges with a thin tool. Twist-lock covers require slight rotation (usually counterclockwise) before lifting.

Material Compatibility and Precautions
Shower Pan Materials
Different shower pan materials require specific precautions during drain cover removal:
- Fiberglass/Acrylic: Avoid petroleum-based lubricants that can cause staining or softening. Use water-based penetrants and plastic-safe tools.
- Tile/Stone: These materials can handle most chemical treatments and tools, but avoid excessive force that might crack grout lines or tiles.
- Metal Pans: Steel or cast iron pans handle aggressive treatment well, but verify that chemicals won't damage protective coatings.
Tool Material Considerations
Use tools appropriate for your drain material. Plastic tools prevent scratching on decorative finishes, while metal tools provide better leverage for stuck components. Always match tool hardness to drain material—never use hardened steel tools on brass or plastic drains.
Professional Installation & Maintenance Tips
Post-Removal Inspection
Once removed, inspect both the cover and drain body for damage, corrosion, or wear. Check thread condition, gasket integrity, and overall structural soundness. This is the ideal time to address any maintenance issues before reinstallation.
Preventive Maintenance
Apply a thin coat of plumber's silicone grease to drain threads during reinstallation. This prevents future corrosion and makes subsequent removal easier. Avoid petroleum-based lubricants that can attract debris and cause binding.
Replacement Considerations
If removal damages the drain cover or reveals significant wear, replacement may be necessary. Ensure new covers match the drain body threading and are appropriate for your shower pan material. Professional-grade covers often feature better materials and longer service life than builder-grade alternatives.
Troubleshooting Common Issues
- Stripped Center Slots: If the center engagement slot becomes damaged during removal attempts, use the hole-pattern method with two screwdrivers inserted into opposite drain holes. This distributes force and prevents further damage.
- Cracked Drain Bodies: If the drain body shows signs of cracking during removal, stop immediately and consult a professional. Continued force can cause catastrophic failure requiring shower pan replacement.
- Thread Damage: Minor thread damage can often be repaired using a thread chaser or carefully applied penetrating lubricant. Severe damage may require drain body replacement or professional rethreading.
Understanding these removal techniques and precautions ensures successful drain cover removal while preserving the integrity of your shower system. When in doubt, consulting a professional plumber prevents costly damage and ensures proper reinstallation.


